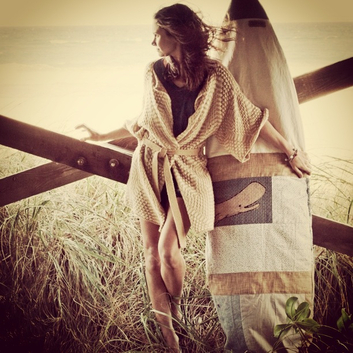
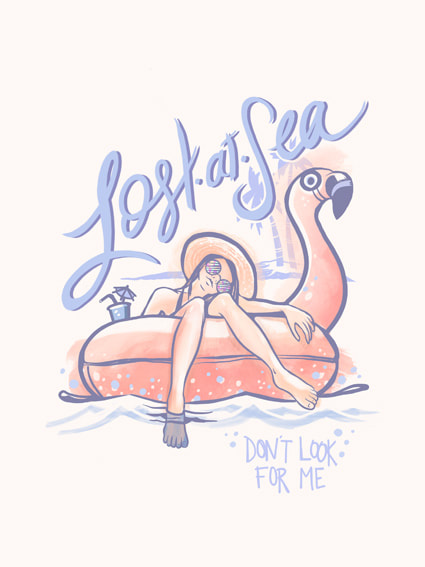
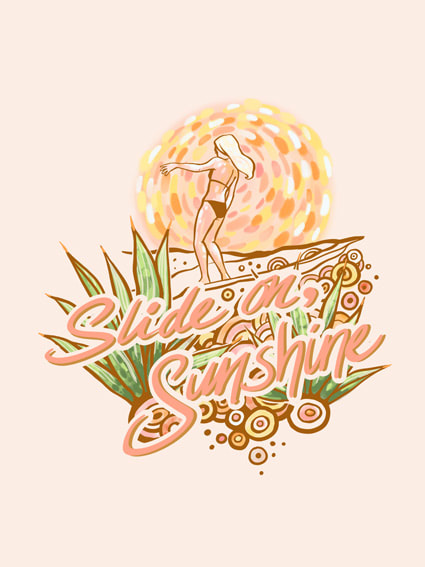
But i'm leaving this here in case you want to read it. There are some good TUTORIALS and stuff there.Everything is going good. If you need some art I'm still available for commissions and would love to hear from you. It just looks a little silly to have a blog that I don't write in and honestly, I'm focusing on the work and just living life more than writing about it. Then again, it also seems a shame to get rid of it since it did have some interesting info. So I'm officially putting it to rest here but follow me on Instagram because I post there all the time and that way we can still keep in touch. Let's end this with my most recent work which was not for a job but created purely for the joy of doing it. I'd recently spent a few days wandering around the beach, playing in the waves, and wanted to share what I was feeling. 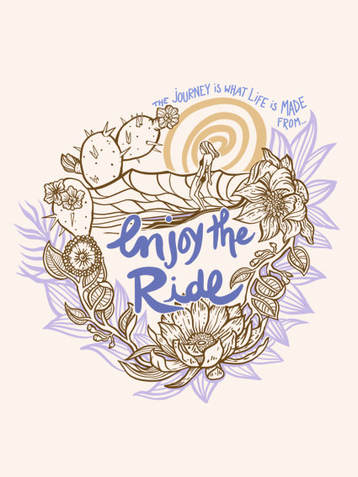
0 Comments
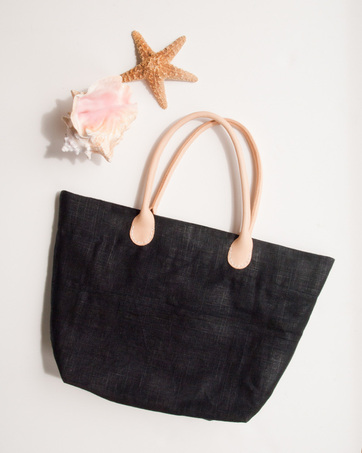
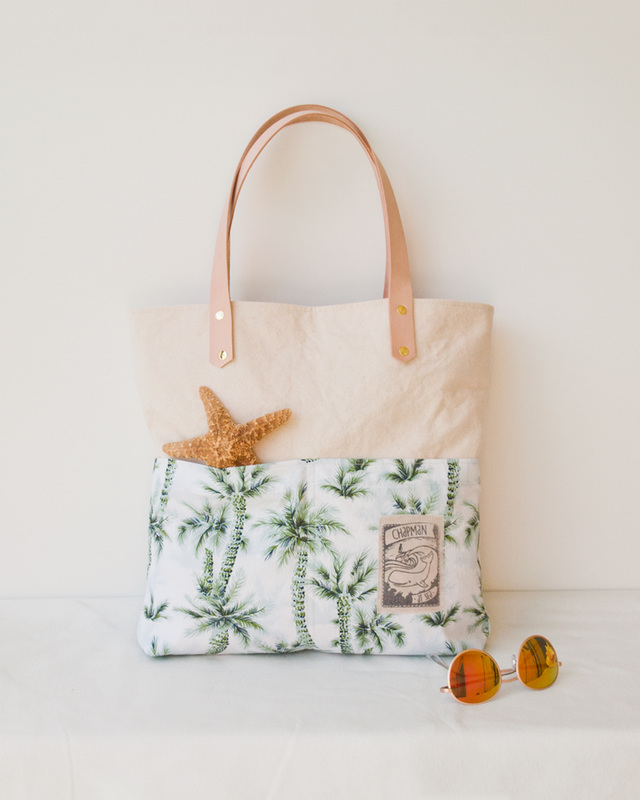
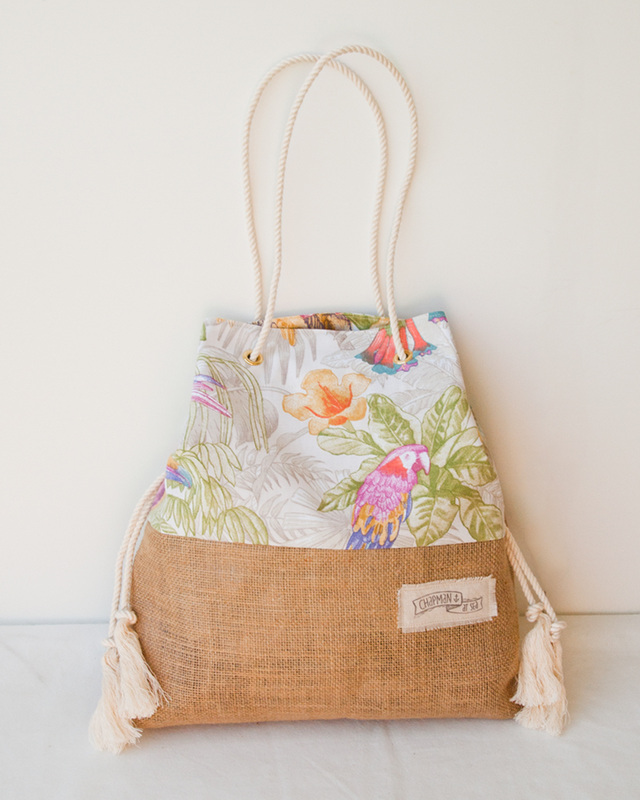
 There seems to be a lot going on lately. Drawing and painting are a huge part of my life, but there's also another side to it, namely Chapman at Sea, the surfboard bag and seaworthy goods company that I run, design and produce products for. While generally this site is for art, when something really notable happens with Chapman at Sea, it'll get a mention here as well and that's just what happen recently. Anna Magazine, all the way from Japan, came to visit my shop. We talked about bag making, what surfing is like in different parts of the world, and just generally had a nice time visiting. The interview and photos can be found in the 2016 autumn issue. My shop is in my home and is generally kept pretty private, so this is a unique look into that. It was also nice that my husband Joe got to be included as well. Although I do the bulk of the work with Chapman at Sea, without Joe a number of our products wouldn't even exist (handplanes, dog leashes) and it was good to have him along. 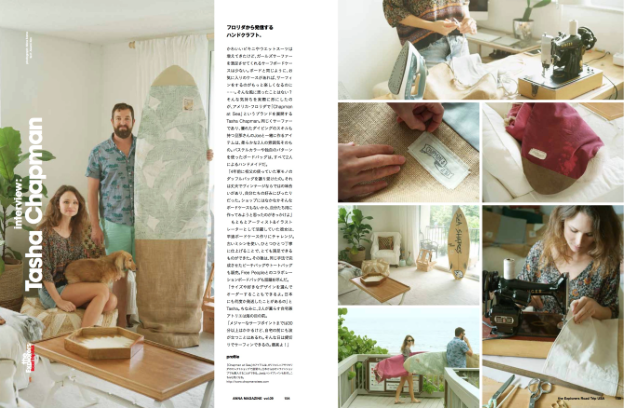 It's been over year since my last post, so I thought an update would be a good idea. Please follow me on on instagram @chapmanatsea so we can keep in touch better. It gets updated almost daily. Also, I write a bit more (although not a lot) on the Chapman at Sea blog. Anyhow, what I've been working on lately is the new spring collection for Chapman at Sea. It's a combo of bright colors and classic neutrals. Fun & happy like sunshine, but still clean and simple. I had a great time making it. Hope you enjoy!
All the bags seen here are for sale in my Etsy shop or by emailing me..
Haven't been keeping up with this blog, well, barely at all, but I wanted to do a quick post about a photo shoot I did this week. It was for my friend's new jewelry brand, Wire & Wings. She's not new to making jewelry, but new to taking it all online, so we did one crazy shoot in Palm Beach in which we tried to capture as much of her collection as possible - before the sun went down. It's all at Wire and Wings . com or will be soon if it's not yet. 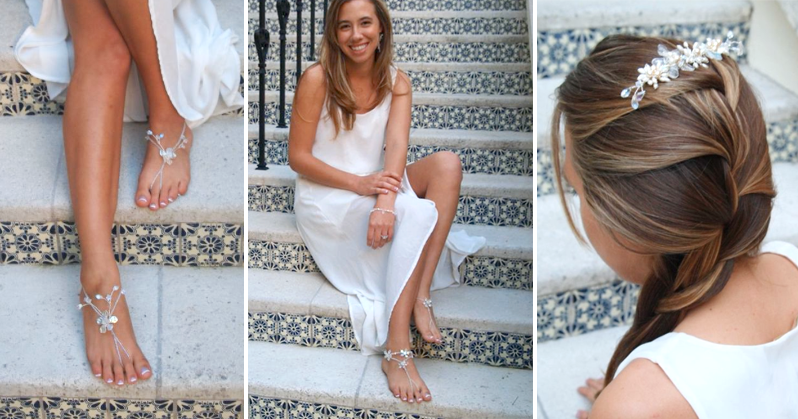 I think my favorite part of the collection would have to be what she makes for brides. Each piece is one of a kind, no one will ever have the same exact piece as you, and includes everything from veil combs to barefoot sandals. There are things for any bride, but so many perfect pieces for the beach loving boho bride. I can think of some many perfect uses for these at a laid back wedding by the sea. 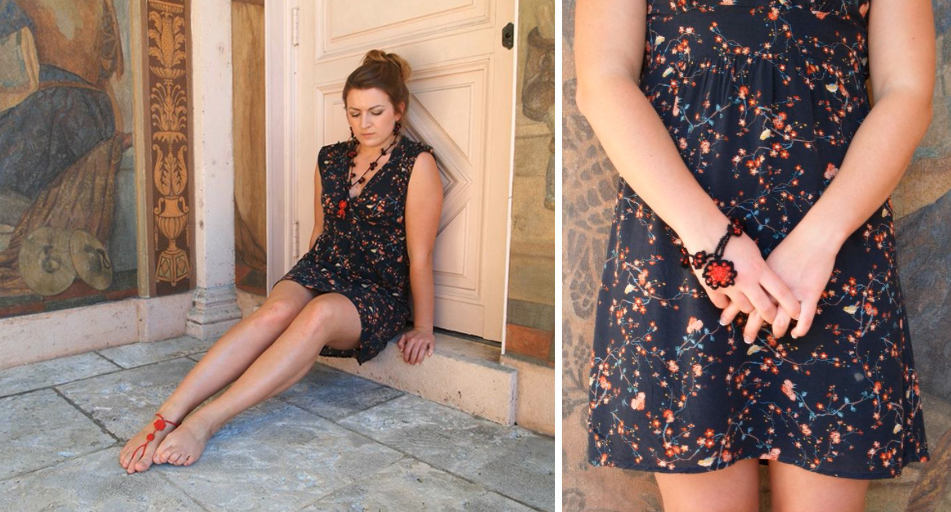 Any for the rest of us non-brides, plenty of unique things well, including these rad red barefoot sandals and unique crocheted jewelry. Check it all out at wireandwings.com
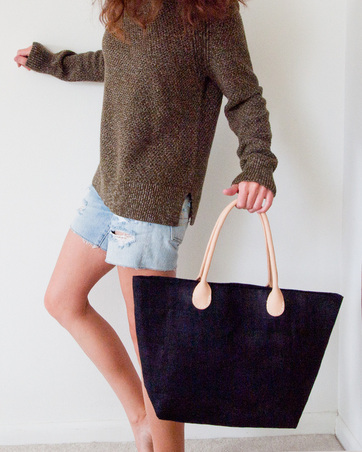
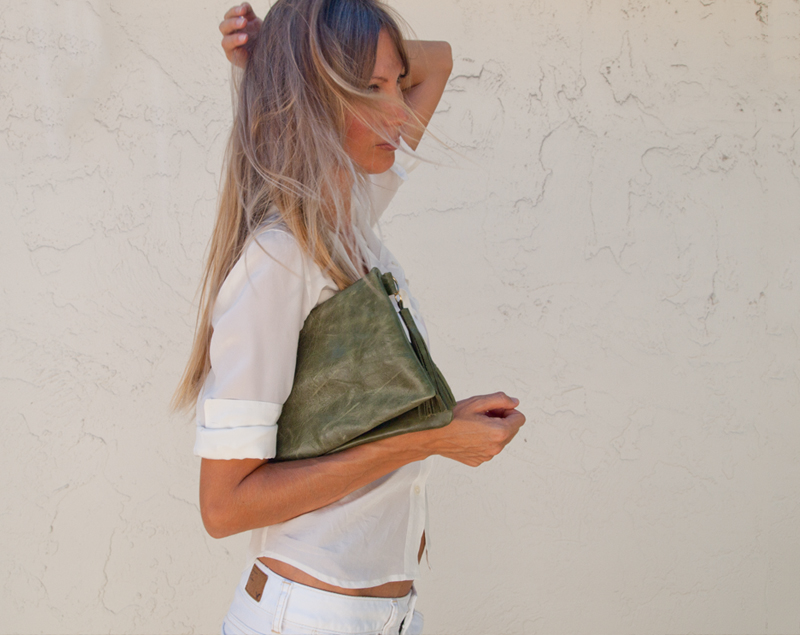
I love using friends as models for my products. My handmade products are all about love - love of surfing, love of well-made things, the love of creating something for another person that they're going to enjoy. So it makes sense for the photo shoots to be fun too. And it doesn't hurt when the friend in question is a seriously good model too! So last week I got together with this particular model-worthy friend and we took photos of some new things I'd made for fall/winter. A very fun afternoon! Cold-season things are always the hardest because even though it's winter everywhere else, it's still 80 degrees here in Florida! So I supposed this is really fall/winter for the Floridian.
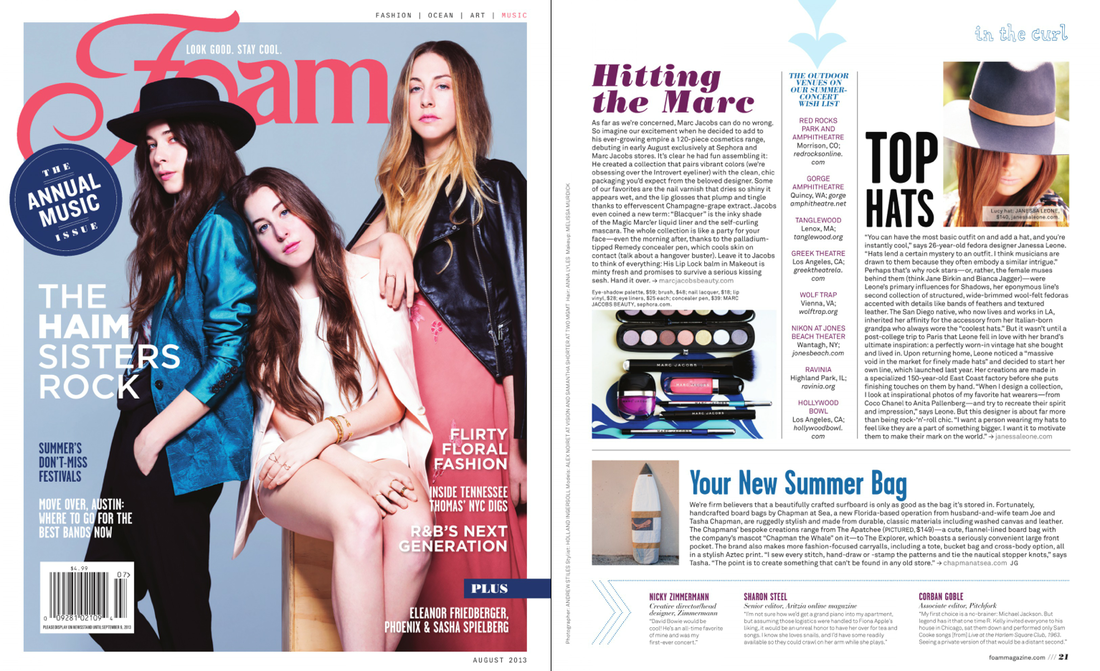 There's not a whole lot to say here, except WHAT?!? Chapman at Sea, my handmade collection of beach-going goods, was featured in the July/August issue of Foam Magazine. So stoked!
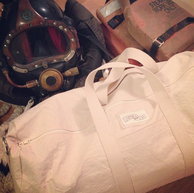 The alternate title for this post is "how to make a new thing look really old in 30 minutes." Last Sunday my husband Joe wanted to make a duffle bag to carry his dive gear to work in so we came up with the bag in the photo. Halfway through, Joe decided the bag would be better if it were made of waxed canvas and so with that we decided to attempt creating our own homemade waxed canvas. There are a lot of different recipes online for the wax. Ingredients include beeswax, paraffin, turpintine, linseed oil and some other more random things. We decided to keep it pretty natural with a simple 75% beeswax / 25% paraffin formula. Waxing canvas deepens the color, makes it waterproof, and also makes it much stiffer. If you'd like to try it for yourself, here's the process we used. Of course, the first thing you need is something to put the wax on. I made this mini duffle bag from the same khaki colored washed cotton canvas that I use in my board bags and decided that it would be our first victim. 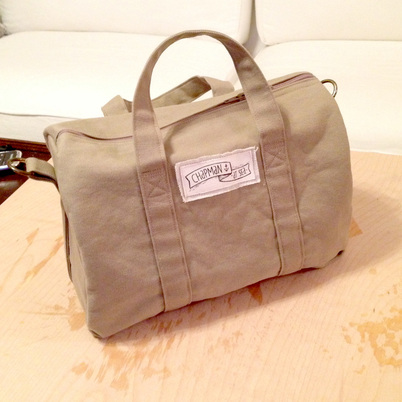 Look how nice and clean it is. I'd just finished making it here. A lovely, light canvas bag... now let's age it 100 years. 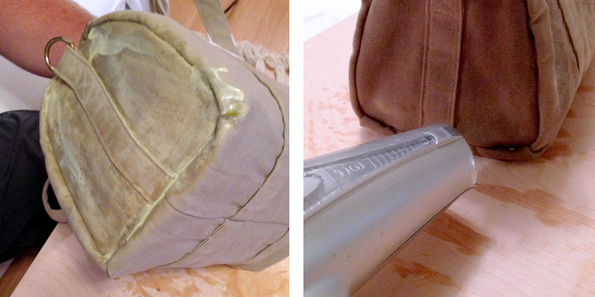 Step 1. Put the solid wax into a can, like a clean soup or coffee can. Pick the formula that sounds good to you. Like I said, we went with a beeswax/parafin combo, but you can do any formula you like. You don't even have to mix them at all. Place the can in a pot with some water in it and simmer it. Basically you're creating a double boiler to melt the wax. When the wax is all liquid, it's time to paint it on the canvas. Step 2. Paint the wax into the canvas and say goodbye to the fresh, clean fabric. We got some cheap, large craft paintbrushes to use for this. It makes a bit of a mess too, so be sure to do it over something you don't mind getting wax all over. It's going to look really bad at this point. The wax will be uneven and might dry with drips all over. Step 3. For it to look right, you need to even out the wax and remelt it into the fabric. Hit it with the heat from a hairdryer on the hottest setting (or use a heat gun if you want to get serious). You'll see the wax start to warm up and sink deep into the fabric. That's what you want! I thought this was really cool. It goes into all the seams and folds, the whole coating smooths out, and it takes on a nice aged appearance. 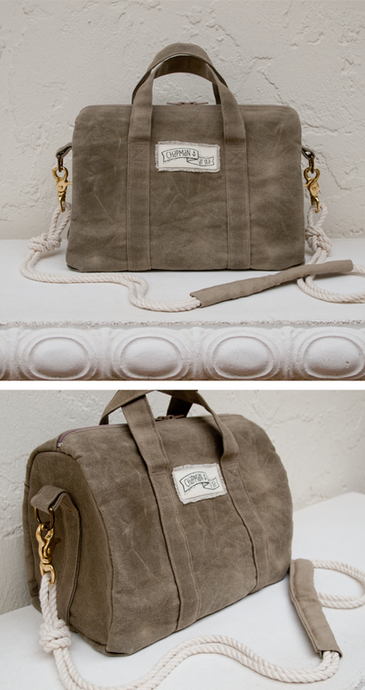 So here is the finished waxed canvas duffle. You'll notice the khaki has turned a lot darker and it's almost an army green color. This is because the beeswax has a yellow tint to it.
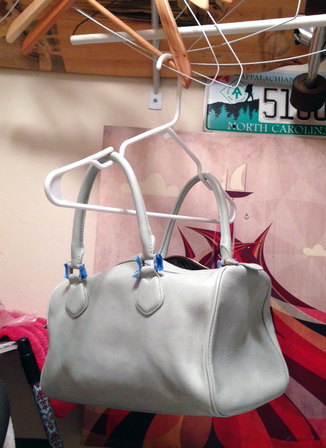
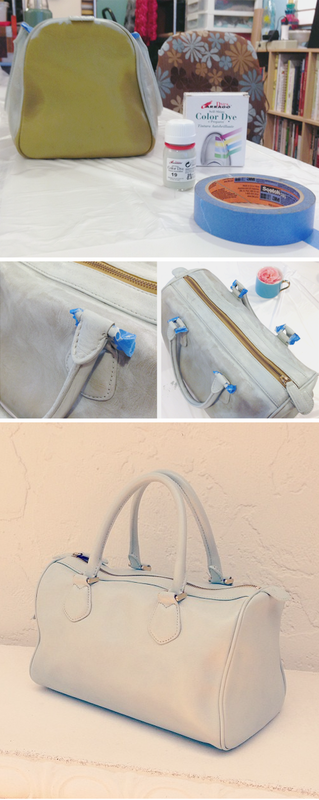
Another cool feature of the waxed canvas is that it can be folded and it holds its shape. So I was able to create a rad wrinkled texture by scrunching the bag up and then smoothing it out. There's lots of room to play around and make different textures. The wax can be reheated over and over, wiped off, and reapplied. It looks like a completely different bag, and since I love old, lived with things it was right up my alley. It ended up looking very much like my old WWII army bag. They honestly look like they belong together now! To finish it off I made a long shoulder strap of nautical rope and some cool brass clasps. I think it would make a great toiletry bag for a guy. Or a camera bag. Or a very un-girly purse. It's super tough now, and fairly waterproof, so it could really be used for anything! Recently I came across a product I had to share, Tarrago Self Shine Color Dye. This stuff is amazing! It can change the color of anything leather and make it look brand new and nice again. And it's really easy to do. And it's not a huge mess. It's the perfect DIY project! I found it by researching leather dyeing online. After reading about some great results on the Friendly Fox blog, I decided to give it a try. I had this sicky olive green J.Crew purse that was technically a nice bag, but that I never used because of the awful color.
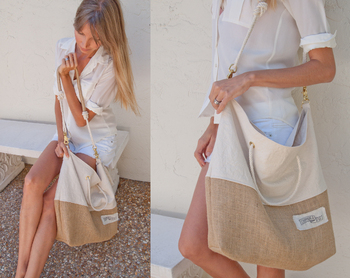
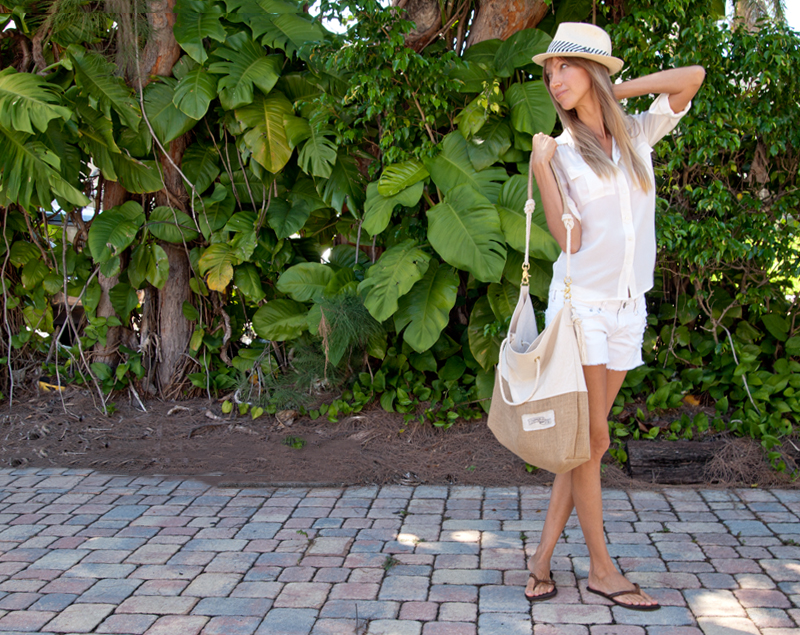
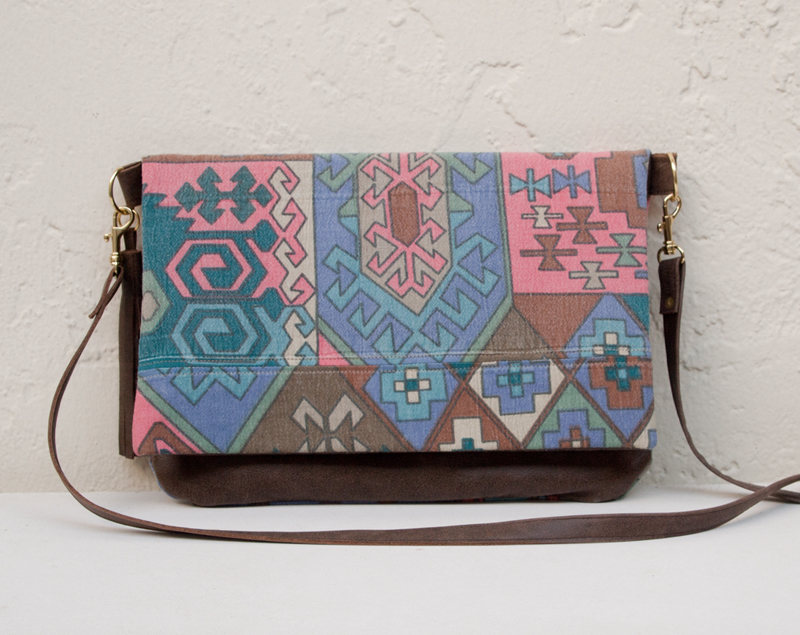
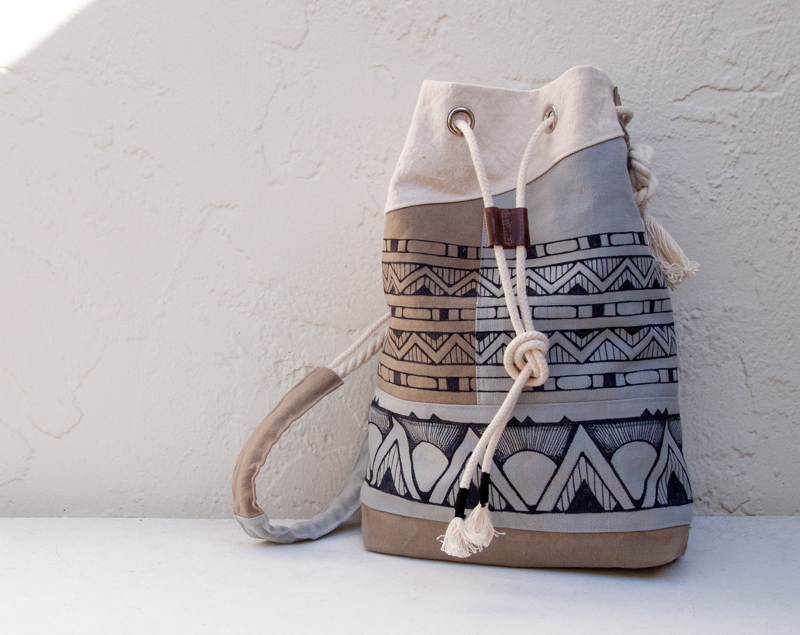
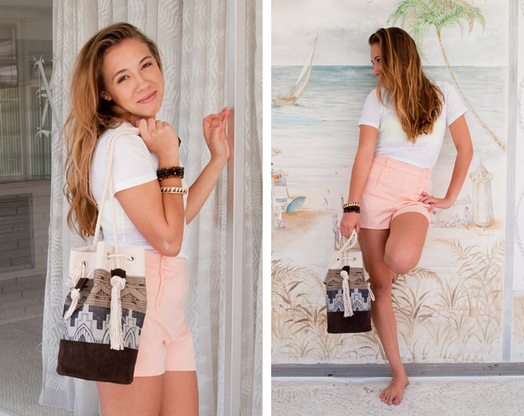  Last week I spent a fun afternoon shooting some photos with a friend. Whenever I do this kind of thing I realize why in the real world it takes a whole team to make stuff like this happen. It's easy to make something, but then to style it, model it, photograph it, pose it - it's so much to think about. Too overwhelming! Fortunately I had a really great model (who is also pretty good behind the camera too!) and it worked out great. I think we got some awesome shots. I did learn one little fix that might be worth sharing with anyone else that wants to do a photoshoot with a friend... Here's what usually happens to me. I find a cute friend and say let's take photos. Sounds great, super fun, but then when the camera actually points at them, they get a little awkward and mumble "what do you want me to do?" I'm not much of a photographer so I have no clue how to say what they should do. I'm usually like, "Just look good, ok?" So this time, we took turns being the model & photographer. When one person got tired posing we'd swap and put the other in front of the camera. It made things so much better! Nobody was stuck in one role, which can be really boring, and it didn't feel as silly to pose if the other person was going to have to do it too. So that's my tip for happy friend photo taking - get everyone involved in everything.  The Tribal Crossbody Bag 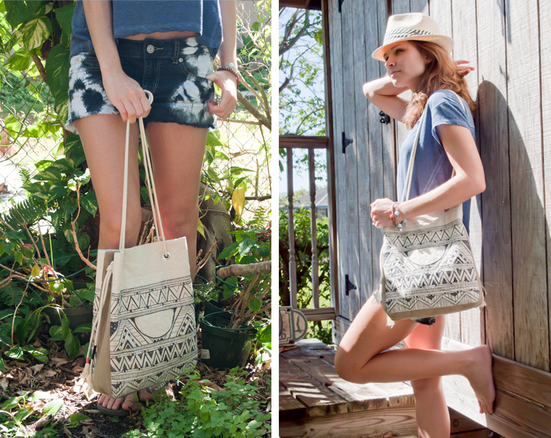 Surf Day Tote
I started working with canvas because I like it and it was the best material for my board bags. Since finishing the first board bag collection, I've kept on working with the same materials to come up with some new bags and purses.
Each one is decorated by hand with desert-inspired, tribal style design. I just love drawing on fabric. I've been playing around with different ink on fabric applications for awhile and it may be my favorite medium at this point. See more of these creations in my Etsy and Storenvy shops.
|

 RSS Feed